Saturday, December 31, 2011

Let the Countdown Begin!!!

Seeing as the title so closely matches today's festivities (being New Year's Eve and all...) I want to make it perfectly clear that this is not a New Year's resolution!  Something that we believe whole-heartedly in for about a week and then casually forget about like an old toy.  This is 90 days of proving that what you put into your body effects what comes out of it (and I'm not just talking about poop.)  This is why I am starting it the day before!  No negative New Year's karma!


I have been probing the documentary world for some time now and was shocked at how poorly I ate.  Don't get me wrong, I've always been a big fan of produce and lots of other healthy things. Unfortunately for me, I like to eat them lying next to a big, juicy steak or drenched in cheese.  In school I don't remember really being taught about nutrition until I was in college.  I remember being in high school and thing that Cheeze-its were a health food.  


While learning about all of the things that are wrong with the food industry and agriculture I tried to figure out the right way to eat.  


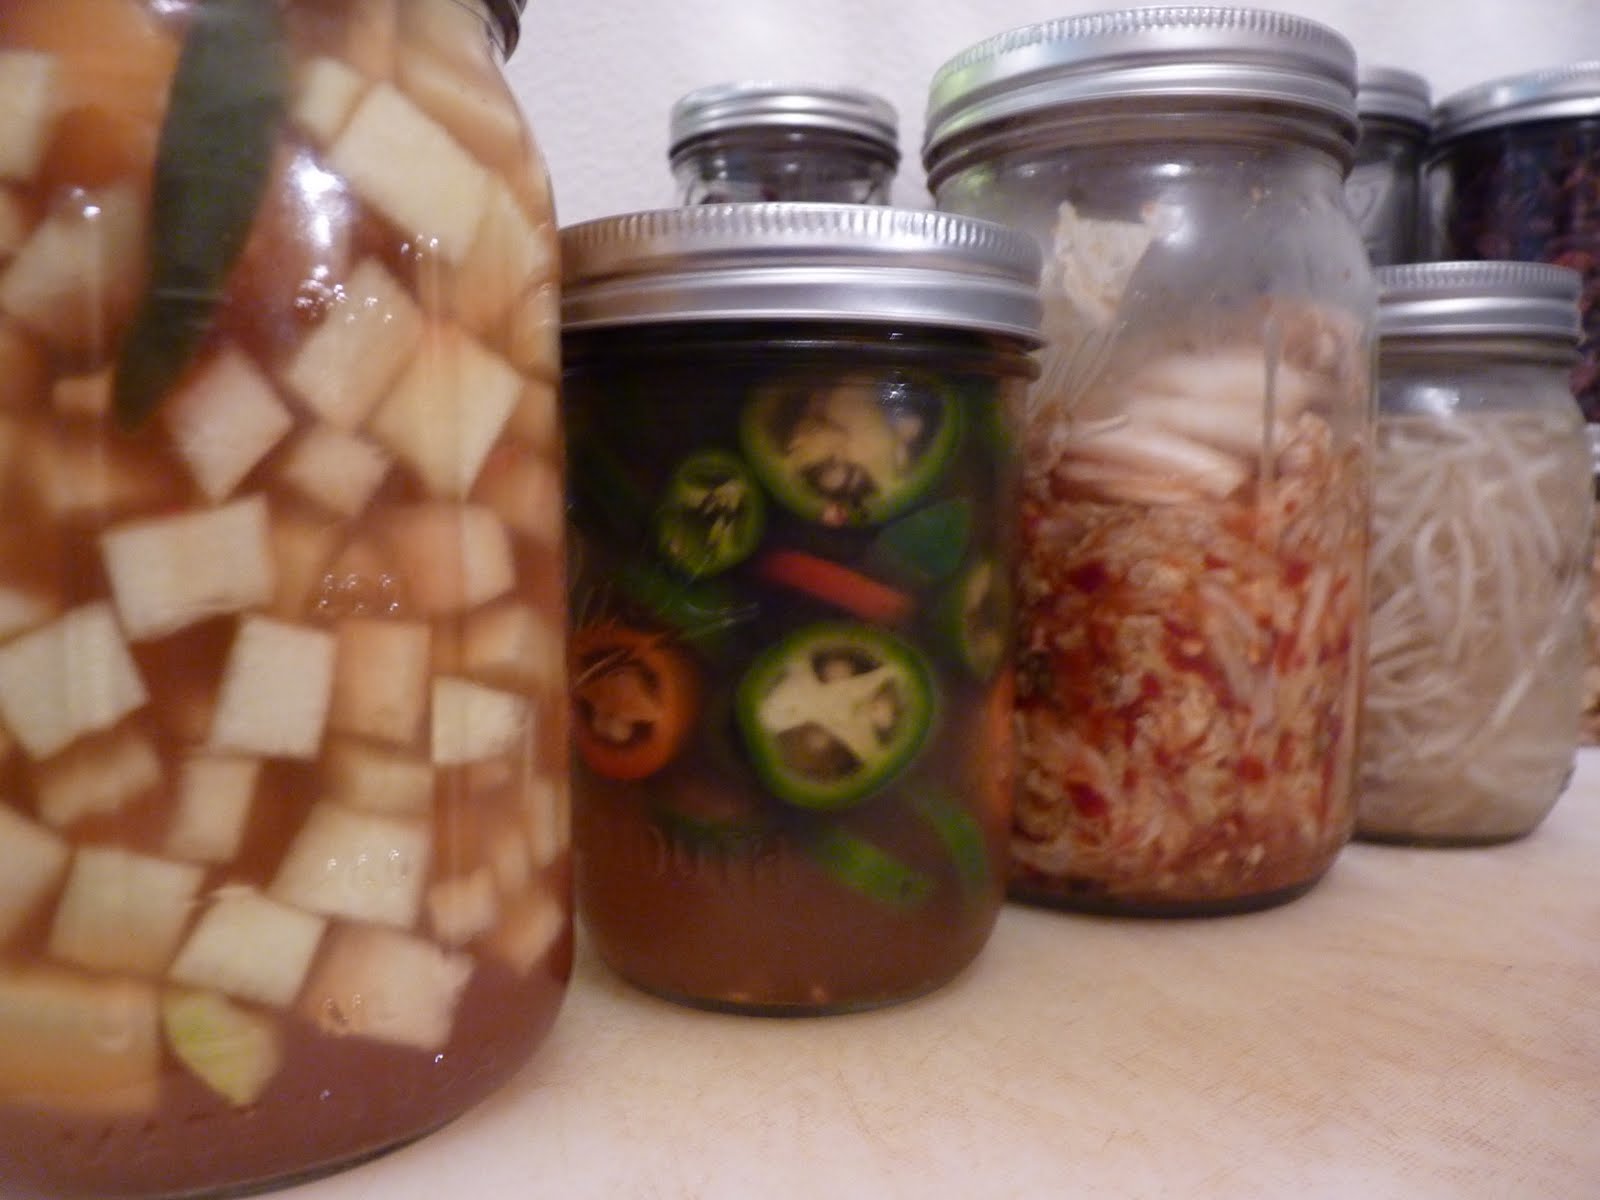
My week's worth of treats form Whole Foods cost me less than $50 and will, hopefully, be much nicer to my insides!


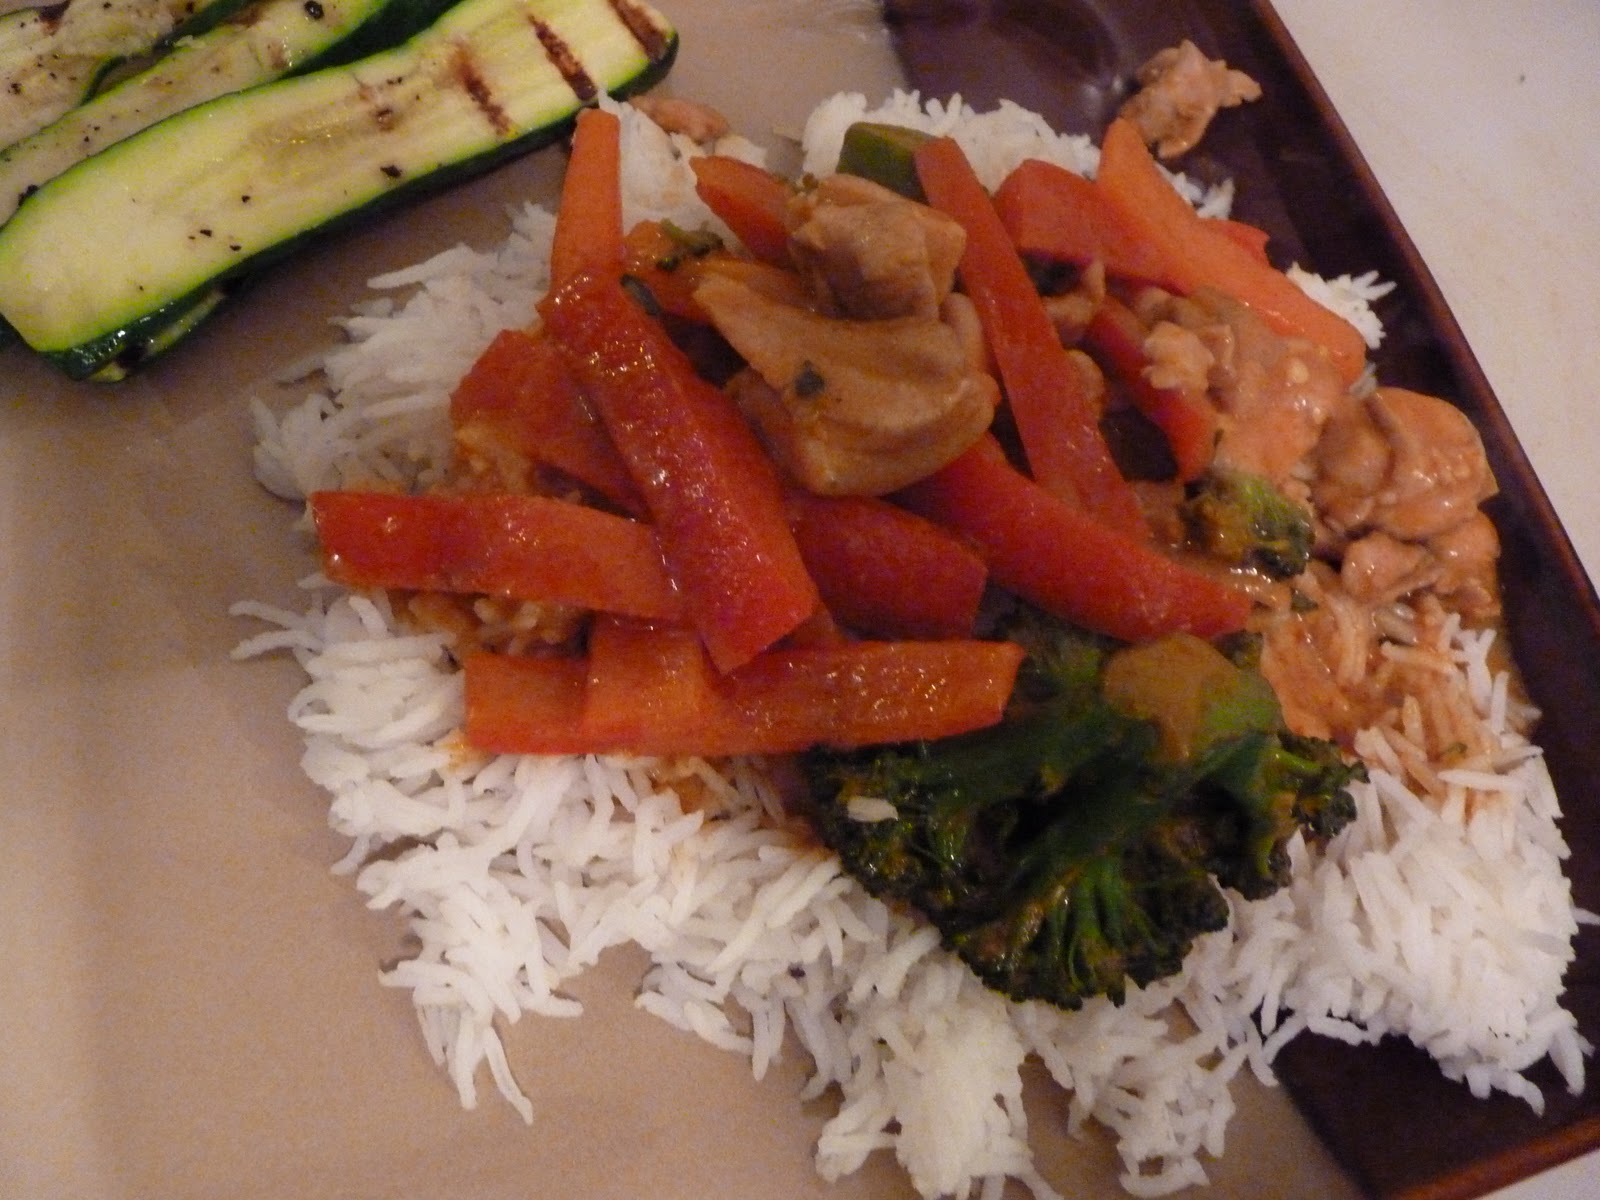
Now that my kitchen has been transformed into a vegan hippie heaven it is time for me to get to work!  I will be checking in each week (at least once) to share recipes and any other fun, nutritious, food facts that I may find.  And, I will also let you know how it is working!  Trust me...if this stuff doesn't make me feel better I will be back to grilling steaks and eating salad...on the side!


Wish me luck!  Ready,set, go...

Wednesday, August 3, 2011

Peter Should Have Picked More Than Just Some Peppers!


Pickling began 4000 years ago using cucumbers native to India. This was used as a way to preserve food for out-of-season use and for long journeys, especially by sea. Salt pork and salt beef were common staples for sailors before the days of steam engines. Although the process was invented to preserve foods, pickles are also made and eaten because people enjoy the resulting flavors. Pickling may also improve the nutritional value of food by introducing B vitamins produced by bacteria.  Pickling has attained its popularity all over the world.  Whether a Korean feast of pickled vegetables or a way to survive a harsh western European winter pickling has been a staple to many cultures across the decades. In fact, my microbiology professor even gave us a quick sauerkraut demonstration in class in order to show how delicious healthy bacteria can taste!  Perhaps with our current generation pickling is not quite the necessity in America, but it is making quite the trendy comeback.  Even the gentleman at the hardware store that helped me find my pickling jars was saying that these babies are starting to pick up in sales.  

Now, I have made pickled daikon and carrot in the past for Vietnamese dishes, but I have never truly dove into the process of pickling (aside from one very tragic attempt at pickles that turned into a jar of cucumbers that tasted like nasty feet covered in vinegar).  All I can say from my experience was that all of these wonderfully sour treats were really fun to make! Mike and I made a day of pickling and I think that he enjoyed it as much as I did ...especially the jalapenos!


We made pickled jalapenos, zucchini chips, bean sprouts and kim chee! I am not one to blog about recipes in traditional recipe form.  That list of ingredients and all of those directions just make cooking more of a chore sometimes.  What can I say?  It just isn't my style, but, for organizational purposes I am going to do it that way for this entry.  This way you can quickly scroll through in the future to find the recipe you want instead of having to read this entire thing yet again!

Kim Chee


1 large Chinese or Napa Cabbage
1 gallon (4l) water
1/2 cup (100g) coarse salt
1 small head of garlic, peeled and finely minced
one 2-inch (6cm) piece of fresh ginger, peeled and minced
1/4 cup (60ml) fish sauce
1/3 cup (80ml) chili paste or 1/2 cup Korean chili powder (or Thai chili paste)
1 bunch green onions, cut into 1-inch (3cm) lengths (use the dark green part, too, except for the tough ends)
1 medium daikon radish, peeled and grated
1 teaspoon sugar or honey


Slice the cabbage lengthwise in half, then slice each half lengthwise into 3 sections. Cut away the tough stem chunks.  


Dissolve the salt in the water in a very large container, then submerge the cabbage under the water. Put a plate on top to make sure they stay under water, then let stand for 2 hours.  
Mix the other ingredients in a very large metal or glass bowl.  
Drain the cabbage, rinse it, and squeeze it dry.  
Here’s the scary part: mix it all up!  
Some recipes advise wearing rubber gloves since the chili paste can stain your hands, but I didn't have a problem.  
Pack the kimchi in a clean glass jar large enough to hold it all and cover it tightly. Let stand for one to two days in a cool place, around room temperature.  
Check the kimchi after 1-2 days. If it’s bubbling a bit, it’s ready and should be refrigerated. If not, let it stand another day, when it should be ready.  
Once it’s fermenting, serve or store in the refrigerator.  I have heard that you should not store kim chee for more than 3 weeks as it can become too fermented, but I must admit that I have had jars of this stuff in the fridge for months and kept on munching on it without a problem.  


Pickled Jalapenos

5 cups vinegar (white or cider)
1 cup water
4 teaspoons salt
2 teaspoons sugar
2 pounds fresh jalapeno peppers (or yellow banana peppers or pepperoncini)
(3-6 slices from a peeled carrot, optional)
(1/2 slice of onion, optional)

When making this dish the choice of vinegar is up to you.  White vinegar looks better, but I do have to say that apple cider vinegar tastes way better...at least in this recipe!

Place the vinegar, water, salt, and sugar in a medium saucepan. Bring to a boil over high heat, reduce heat to low, and stir briefly to dissolve the salt and sugar. Cover and keep hot over low heat while you prepare the jalapenos.  
Wash the jalapenos and slice 1/4-inch thick; discard the stem ends. If using the carrot and onion, place 1 or 2 pieces of each in the jar. Pack the jalapeno slices into the sterilized pint jars. 2 pounds of jalapenos should make at least 3 pints; pack the jalapenos tightly, but do not crush them.  Ladle the brine over the jalapenos.  If the liquid does not completely cove the peppers at a little water in order to do so.  Let then jar cool to room temperature and then refrigerate.  The peppers should be ready to eat in 1-2 days.


Pickled Bean Sprouts


1/2 lb. of bean sprout
1 c. water
1 c. white vinegar
1/2 c. of sugar
1/2 of a carrot (optional)
pinch of salt


I first got the idea to try this dish when Mike and I were at out favorite local Korean restaurant.  Before they serve you your entree they bring you an array of tiny dishes each filled with a different pickled item.  While El Guapo may have a plethora of pinatas I had a plethora of pickles!  One of these items being bean sprouts.  Every time I buy bean sprouts for a particular meal I always end up throwing half of the bag away.  They go bad so fast once that little plastic bag is open and I just never seem to eat them fast enough. This was the perfect fix to my bean sprout wasting problem!

Pack you canning jar with bean sprouts and your shredded carrot if you wish.  In a small sauce pan bring the sugar, water and vinegar to a simmer.  Let it simmer for 3 minutes then turn the heat off and let it cool a bit so that the liquid doesn't cook the sprouts when you pour it in the jar.  Once the liquid is cooled off a bit pour to cover the bean sprouts.  Let the jar cool to room temperature and then store in the refrigerator.  The bean sprouts are ready to eat in just a few hours.

Pickled Watermelon

2 cups apple cider vinegar
1 cup water
1/2 cup sugar or honey
1 1/2 teaspoons salt
1 teaspoon whole cloves
4 small, dried chiles
4 wide strips lemon peel
1 (1-inch) piece ginger, peeled and thinly sliced
1 1/2 pounds peeled watermelon rind, cut into (1/3-inch) chunks (about 5 cups)
8 radishes, cut into small wedges

This is a recipe that I stole from Whole Foods' website.  Though I have heard mixed reviews about it I have to say that it is the best sounding one that I could find.  Pickled watermelon is something that I think is not necessarily a crowd pleaser in general...maybe it is an acquired taste.  Who knows?  They are something that I think everyone should try at least once just to get in touch with any southern roots that may exist in blood line!


Put the vinegar, water, sugar or honey (I used sugar), salt, cloves, chiles, lemon peel and ginger into a medium pot and bring to a boil over medium high heat. Add rind, reduce heat to medium low, cover and simmer until rind is tender and translucent, 8 to 10 minutes. Uncover pot and stir in radishes.  Spoon contents of pot (with pickling liquid) into glass jars, seal tightly and chill overnight. Serve right away or store in the refrigerator for up to 2 weeks.

And...last, but definitely not least...

Pickled Zucchini Chips

3 medium zucchini (1 pound / 16 oz / 450 g), thinly sliced

1 medium white onion, thinly sliced

3 shallots, thinly sliced
1 1/2 tablespoons fine grain sea salt
1/4 cup (small handful) fresh dill sprigs
1 small fresh red chile pepper, very thinly sliced
1/2 tablespoon yellow mustard seeds
3/4 cup / 180 ml cider vinegar

3/4 cup / 180 ml white wine vinegar

1/3 cup / 1.75 oz / 50g natural cane sugar


Toss the zucchini, onion, shallots, and salt together in a colander and place over a bowl to catch the liquids. Cover the bowl and refrigerate for at least a couple hours. Toss once or twice along the way. You're aiming to get as much liquid out of the zucchini as possible.

When you're finished draining the zucchini, shake off any water. At this point you want the zucchini as dry as possible. Place in a jar along with the dill, chile pepper, and mustard seeds. 

Combine the ciders and sugar in a small saucepan over medium heat. Bring to a simmer, stirring until the sugar dissolves, and continue to boil for a few minutes. Pour the liquid over the zucchini and seal the jar. Let cool, then refrigerate. The pickles are good for a week or so.


There you have it!  A solid days worth of pickling.  Have at it my savory and sour flavored lovers and if anyone comes across more pickling goodness that I have missed please share!


Wednesday, July 27, 2011

All You Need Is Love...And a Little Pesto Pasta Salad.

Now that the weather is FINALLY cooperating with the summer months it is the perfect time for some summer love in the sun.  Picnics, barbecues and beers on the roof...ah, the wonderful feeling of friends and food in the beautiful sunshine!  Can anything beat that?  I don't think so!  Next time you are in need of a deliciously refreshing side dish to contribute look no further.  My pesto pasta salad is just the right companion for some barbecued chicken and margaritas.


When I make this salad I never measure the ingredients.  I just toss everything in so that it makes a colorful palette of purple, blue, green and white in the bowl and then dress it just enough to get all of the ingredients wet.  I start with two packages of Trader Joe's fresh pesto tortellini.  Boil the tortellini according to the directions on the package (about 5-8 minutes).  The pasta is done once it has expanded and they are all floating atop of the boiling water.  Drain and rinse with cold water to cool the pasta and stop the cooking process.  In a large bowl combine the pasta with crumbled feta, very finely diced red onion. chopped tomato and chopped arugula.  For the dressing combine 1 part olive oil, 1 part red wine vinegar, the juice of 1 lemon, salt and pepper.  Mix all ingredients and make sure that all of the salad is moistened by the dressing.  I also add some fresh oregano (you can also use dried, but put in a bit more than you would if using fresh as the taste is less potent) and some zest of the lemon used for the dressing.  If there are leftovers it keeps well in the fridge for about 3-4 days.

This salad would also be great with kalmata olives and cucumber...depending on how sassy you are feeling that day feel free to play with the ingredients.  It always seems to turn out tasting amazing no matter what!

Tuesday, July 26, 2011

Payday = Poke

What is the best place to vacation that doesn't require a passport????  I'll give you a hint...toasty white sand, beautiful ocean that is just as blue as the sky, hot chicks in grass skirts, whole roast pig, and (you guessed it) ahi poke!  For those of us who are not able to fly to Hawaii in a moments notice here is something we can do at home to help us get into the island mood!  Pull out those bright blue umbrella drinks, floral sarongs, and the raw fish.  Oh, yes, I said it!  What better way to enjoy that pina colada than with a delicious bowl of ahi poke?  The only downside to this incredibly simple to make dish is the cost.  Sashimi grade fish of any kind can be a bit pricey.  So clip those coupons and recycle those cans...it will all be worth it once that amazing bite of soy sauce soaked ahi melts in your mouth!


In a medium sized combine 1 1/2 - 2 lbs. of fresh sashimi grade ahi (make sure it is fresh and sashimi grade...otherwise the after effects won't be pretty by any means!) cubed, 1/2 - 1 c. of soy sauce depending on how soupy you like your poke, 3/4 c. chopped green onions, 2 tbs. of sesame oil, 1 tbs. sesame seeds, and 1 tbs. crushed red pepper flake (this can be omitted if the heat is too much for you) and mix well.  Let marinate in the refrigerator for at least two hours before serving.  I like to give it a mix every half hour or so to ensure that it marinates evenly.

Alright friends...the next time you are in the mood to hula, but can't quite make the 5 hour flight whip some of this up with a little macaroni salad and let the island come to you!

Sunday, February 13, 2011

I'll See Your Flu Germs...And Raise You An Immunity Boosting Smoothie!

Now that you have seen the sick boy that I was with all week you may be asking yourself, "Wow...how did you not get sick too???"  Well, it would just be rude of me not to tell you.  The answer is in the smoothie.  How can a smoothie have such super human powers??? Because you cover up the nasty taste of that healthy crap with sugary fruity goodness!  Have any of you ever tried liquid echinacea?  Gag me with a rag...that stuff is just plain nasty!  And, how many of us truly enjoy the taste of raw kale?  Sure, there may be some freaks of nature out there that dig on eating raw greens for fun, but I am not one them.  So, in order to down all of the good things that my insides love and my taste buds despise I blended them together with lots of citrus, berries, and frozen yogurt.


For some reason this smoothie can sometimes have a bit of a gray color to it, but I swear on my love for bacon that it always tastes delicious!  So, trust me on this one, and if you feel a bit of sick in the air give this thing a try!  In a blender, dump 1 tbs. of flaxseed meal, 1 tbs. of Trader Joe's Very Green Powder ( it has all sorts of goodies in it, like wheatgrass, barleygrass and almost every other type of grass that is legal in the U.S.), and one dropper full of liquid echinacea.  Now, the rest of the ingredients I don't really measure.  I usually just eyeball what sounds good at the time, but for recipe purposes I will try to guess at what they would be, roughly.  Add one banana, one handful of fresh blueberries, one handful of fresh red grapes, one scoop of frozen pineapple, one scoop of frozen mango, one scoop of frozen kale or frozen greens blend, one scoop of frozen strawberries, 2 scoops of frozen berry medley, one scoop of nonfat plain frozen yogurt and enough orange juice or juice of choice to fill up to about 3/4 of the blender's contents.  Puree that baby and chug, chug, chug!  You can hear the screams of a thousand germs dying as you get down to the bottom.  Now build up that immune system and fight off those cranky microbials!

Why Did The Chicken Cross the Stove? To Get Into Doyle's Stomach.

A cough here...a sniffle there...all of the sudden you are surrounded by cold medicine, balled up tissue filled with all sorts of colorful little surprises and the faint sound of whining and wheezing in the background.  Ah, yes, we have all been there before...in the presence of a sick boyfriend!


Since I had to take care of him for a week I also get to embarrass him a bit on my blog!?  Though this may be a bit mean now that he is better I was nice to him while he was ill...I promise!  In fact, I did what every good girlfriend should do when their boyfriend has bed sores from not being able to get off of the couch for seven days...I made him a fresh pot of chicken soup!  Nothin' says lovin' like..."Babe...I made this soup for you".


Start by dicing 2 russet potatoes, 3 stalks of celery, 2 carrots, 4 cloves of garlic and 1 yellow onion.  Throw those items in a stock pot with some olive oil and salt and cook overt medium low heat for about 5-10 minutes.  While those items are sauteing, heat up an additional smaller pot of water.  Once the small pot starts to boil put in one chicken breast and cook in the water for about 15 minutes.  After the vegetables have began to soften add 2 bay leaves, 1 sprig of fresh thyme, one sprig of rosemary, 1 tbs. of  21 seasoning salute (A Trader Joe's items for those of you that are not already one of Joe's hoes), 1 tsp. of paprika, a dash of cayenne pepper, 1 tbs. of oregano and some fresh or dried basil.  Let the flavors combine for about 5 minutes before adding one carton of chicken stock (4 cups).  While the stock pot is coming to a boil remove the chicken breast from the pot of water and dice into bite sized pieces.  Once the stock is boiling turn it down to a low simmer and add the diced chicken breasts, 1/4 c. of wild rice, 1 c. of frozen corn kernels, 1/2 c. of frozen peas and 1 additional c. of water.  Simmer covered for 35 minutes.  Once it is finished serve it to your significant other with a dash of love and some saltine crackers!  They will be feeling better in no time...or at least they will have their mouth full and won't be able to whine and complain for a good half hour!

What a Royal Panang in the Butt!!!

With allergy season in full bloom what better way to keep the sniffles at bay than with some super spicy curry!?  The pro about making this dish at home is that you can control the spice (this is for us white people out there that aren't man enough for all that thai lovin'!).  This dish gets thrown together pretty quickly and you definitely squeeze about four meals out of it.  Alright kids, lets get those tissue boxes handy because that nose of yours is going to be dripping like a leaky faucet while you eat this stuff!


In a separate pot cook one cup of white basmati rice according to the packages directions.  Also, add to the pot 3-4 torn lime leaves for additional flavor.  After the rice has been turned down to a simmer and covered you can begin working on the fun stuff!  Take three chicken thighs and dice into cube sized pieces.  In a frying pan or wok heat up 2 tbsp. of canola oil and 2 tbsp. of panang curry paste over medium low heat.  While that is heating through you can dice one red bell pepper and about half of a head of broccoli.  After the paste and the oil are heated through to the point where they blend together into easily toss in the diced chicken and let cook over medium heat for a few minutes until it begins to brown.  Add the diced peppers and broccoli and  3 torn lime leaves.  Cook for an additional 5 minutes.  Stir frequently so that the vegetables and chicken don't burn.  Add one can of coconut milk, 1 tbsp. of sugar and 1 tbsp. of fish sauce.  Cook for an additional 10-15 minutes depending on how shallow your pan is.  Garnish with some fresh sliced thai basil and lime wedges.  Now the heat is on...in your mouth!  Enjoy and don't forget...if there is too much spice do not try to wash it away with ice cold water!!!!  That is a big "No No" as it will only make it worse!  If your mouth is on fire and tears are running down your cheeks go for a glass of milk and lots of plain rice.  The burning sensation should dissipate shortly thereafter.